
Best RV Hookup Safety Checks Before You Settle In
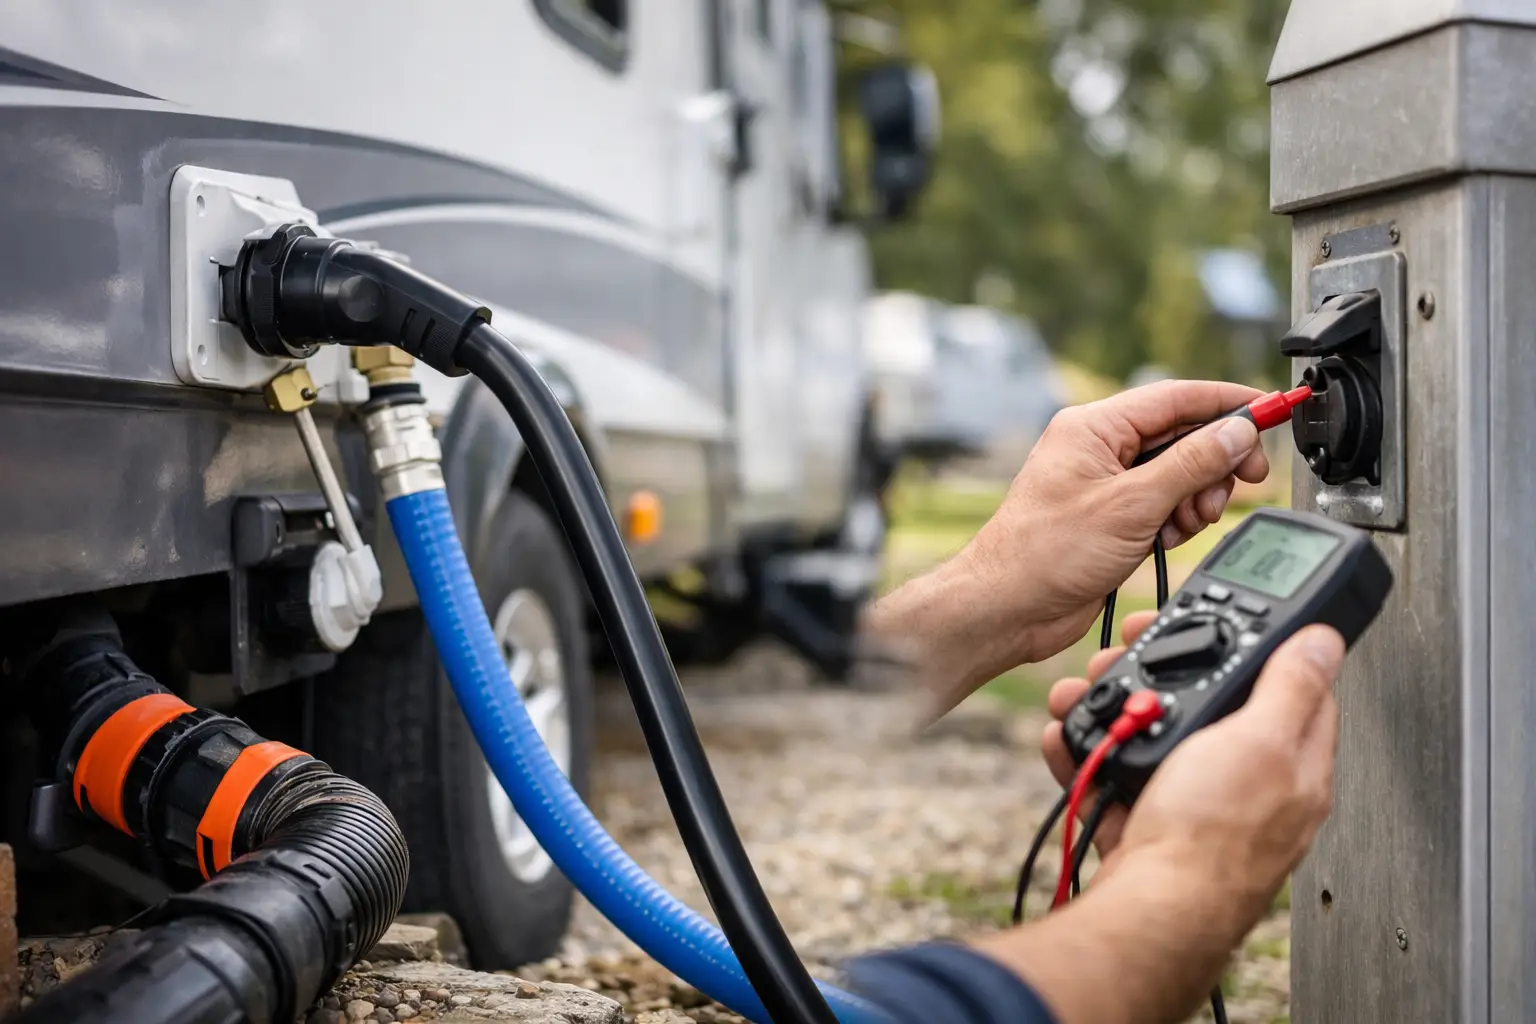
A smooth overnight stop can turn stressful fast when a hose leaks, a breaker trips, or a loose electrical connection starts getting hot. The best RV hookup safety checks take only a few extra minutes, but they protect your RV, your family, and the folks camping around you. Do them before you get comfortable, especially if you arrive near dark after a long day on the road.
At a full-hookup site, the order matters. Park and level first, then inspect the utilities before connecting anything. A little patience at the pedestal can save you from a damaged appliance, a flooded compartment, or an unpleasant sewer cleanup.
Start With a Safe, Level Setup
Before you touch the water, power, or sewer connections, make sure the RV is positioned where it needs to be. Look at the site itself, not just the view from the driver’s seat. Check for low branches, soft ground, sharp rocks, standing water, and anything that could interfere with your slide-outs or awning.
Set the parking brake, use wheel chocks, and level the RV as needed. Chocks should go in before unhitching a towable RV. If you are using leveling blocks, place them on firm ground and follow your RV manufacturer’s guidance. Do not stack blocks into a wobbly tower just to make an uneven site work.
Once the rig is stable, walk the utility side of your RV. Make sure your power cord, water hose, and sewer hose can reach without being stretched tight. A connection under tension is more likely to loosen, crack, or get stepped on.
Best RV Hookup Safety Checks for Electric Service
Electricity deserves your full attention. A campground pedestal may look fine from a distance while hiding loose outlets, moisture, damaged covers, or an incorrect voltage reading.
Inspect the pedestal before plugging in
Open the pedestal cover and look for scorch marks, cracked outlets, exposed wiring, corrosion, insects, or water inside the box. If anything looks burned, loose, or wet, do not use that outlet. Let the campground host or manager know right away and ask about another site.
Turn the breaker off before connecting your RV. Check that your RV plug is clean and undamaged, with no melted plastic, bent blades, or dark discoloration around the prongs. The cord should plug in firmly, not hang loosely from the outlet.
Use a surge protector or electrical management system made for RV use whenever possible. These devices can help identify low voltage, high voltage, open grounds, reverse polarity, and other conditions that may harm your RV’s electrical system. They are not a replacement for an inspection, but they are a worthwhile layer of protection.
Match your service and avoid overloads
Confirm whether the site provides 30-amp or 50-amp service, and connect your RV to the correct outlet. Do not assume an adapter makes every setup equal. An adapter can let a plug fit, but it does not create more available power.
After you turn the breaker on, give the connection a moment before running high-draw items such as the air conditioner, microwave, water heater, or space heater. If your power monitor shows a problem, or if the plug or pedestal gets warm, shut the breaker off and disconnect. A warm connection can be an early warning sign of a loose or failing outlet.
Keep the cord off driving paths and away from puddles when you can. Do not run it through a doorway where it can be pinched, and do not cover it with rugs or other materials that hold moisture and heat.
Connect Water Without Bringing Trouble Inside
A clean water connection starts with the right equipment. Use a drinking-water-safe hose, not a standard garden hose. Keep it capped when stored so dirt, insects, and road grime do not end up in your fresh water system.
Before connecting, look at the spigot and threads. If the faucet is damaged, leaking badly, or missing a handle, report it. Run the water briefly before attaching your hose to clear the line, but stand clear of the flow and do not let the hose end touch the ground.
Install a water pressure regulator at the spigot. Campground water pressure can vary widely, and excessive pressure can damage hoses, fittings, and plumbing inside the RV. A simple regulator is cheaper and easier to replace than a cabinet full of wet supplies.
Attach the hose hand-tight, then turn the water on slowly. Check both ends for drips. Go inside and inspect under sinks, around the toilet, and near any water heater access points. For an overnight stop, you may prefer to fill your fresh tank and disconnect from city water. For a longer stay, a secure city-water connection is convenient, but it should still be checked daily.
If freezing weather is possible, do not leave a standard hose exposed without the proper protection. What works for a warm Georgia afternoon may not work during an unexpected cold snap.
Handle the Sewer Connection With Care
Sewer setup is not complicated, but rushing it is how spills happen. Wear disposable gloves, inspect the sewer hose for pinholes or worn fittings, and make sure the connection reaches the site inlet without a sharp pull.
Connect the sewer hose to the RV first, then secure the other end to the sewer inlet using a proper threaded adapter or elbow. The connection should fit snugly enough that it cannot work loose. If the site inlet is uncovered or damaged, contact the campground rather than trying to improvise with a poor seal.
Keep the hose supported so waste can flow downhill without deep sags. A sagging hose is harder to drain and more likely to get damaged. At a full-hookup site, keep the black tank valve closed until the tank is reasonably full. Leaving it open can allow liquids to drain away while solids remain behind, creating a blockage that nobody wants to deal with.
Empty the black tank first, then the gray tank to help rinse the hose. When you are done, close both valves, rinse equipment only where the campground allows it, and store everything separately from clean-water gear. Wash your hands even if you wore gloves.
Look Beyond the Three Hookups
A good safety check includes the space around your RV. Test exterior steps and handrails before carrying groceries, pets, or tired kids in and out. Keep walkways clear, especially around hoses and cords. Make sure your slide-outs have room to extend without hitting utility posts, trees, or another campsite boundary.
Check that your propane cylinders are upright, secured, and free of obvious damage. If you smell propane, turn off the supply if it is safe to do so, avoid sparks and open flames, and get help from campground staff or emergency services. Do not keep troubleshooting a gas leak on your own.
It also pays to know where the site’s water shutoff and electrical breaker are located. If a hose bursts at night or an appliance starts acting strange, you will not want to search for them in a hurry.
At Rusty’s Retreat, full-hookup RV guests can settle into a quiet stop close to I-16, but the same basic routine applies whether you are staying one night or several weeks. Walk the site, inspect each connection, and speak up early if something does not look right. A dependable campground wants to know about a problem before it becomes a bigger one.
Before You Turn In for the Night
After everything is connected, take one last outside walk. Look for water dripping beneath the RV, a sewer fitting that has shifted, a power cord resting in water, or an extension of your setup that could become a trip hazard after dark. Then step inside and confirm your refrigerator, lights, water pump, and air conditioner are operating normally.
This final walk is also a good time to bring in items that could blow away and make sure pets are safely settled. If rain is moving in, check that your awning is secured or retracted according to the conditions.
The best travel stops are the ones where you can park, get connected, and finally rest. Give your hookups those few careful minutes before you unwind, and your RV will be ready for the road when morning comes.